Configuration hints for self-managed Windows Machines
At D-PHYS you can choose between managed and self-managed Windows machines. If you decide to manage your Windows installation by your self, please refer to the following few steps to configure your system to be able to access all D-PHYS IT services. On managed Windows machines all these settings are automatically be done and you have not to take care.
Network Configuration
Register and configure your computer to the D-PHYS network according to this guide
Adjust your DNS client settings
To be able to reach all D-PHYS services by using the short names (i.E. only type readme to reach our documentation instead of the full qualified domain name readme.phys.ethz.ch) it is important to configure a search list to allow your DNS client to first seek a computer name within the .phys.ethz.ch zone and if nothing matched, the computer will also be looked up in .ethz.ch. This is necessary because D-PHYS provides some services only in the zone .phys.ethz.ch and your Windows would only try to lookup the short names in .ethz.ch with the standard configuration.
To correct this behavior of your self-manged Windows computer you should follow either of the following guides or alternatively always use the full qualified domain name like readme.phys.ethz.ch. (If you are using earlier Windows versions than Windows Vista please contact us.
Configure DNS search list by GUI
- Go to your start menu and type 'view network connections' into the search field and hit enter.
- The following dialog should appear now listing your existing network connections.

- Double-click your active LAN connection that brings up the following dialog
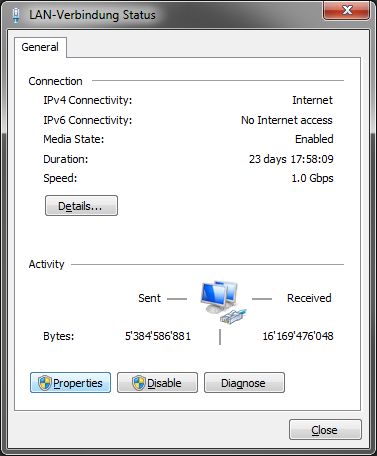
- Click the button Properties (you may now enter your administrator password to reach a higher level of privileges) Now you should reach the following dialog window:
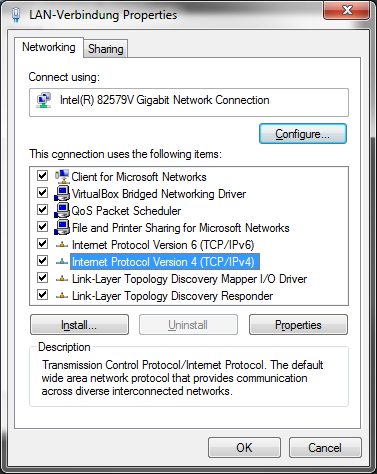
- From the item list choose Internet Protocol Version 4 (TCP/IPv4) and click the button Properties the following configuration dialog show up:
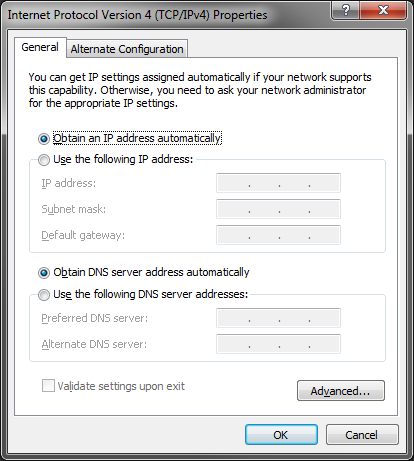
- Now click the Advanced... button which brings up the following dialog
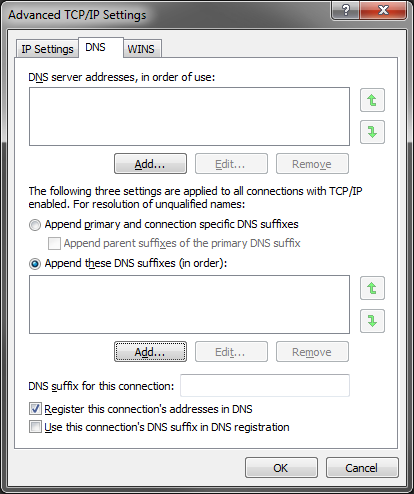
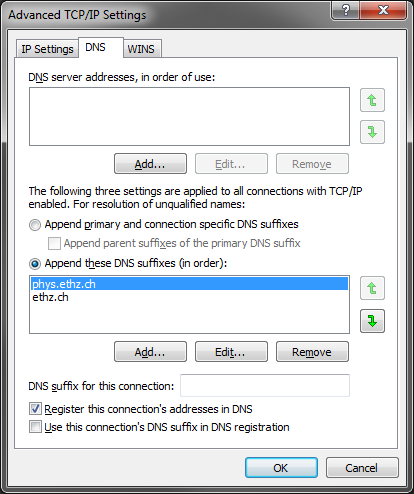
- In this dialog click the tab DNS and choose the option Append these DNS suffixes (in Order) and click the lower one of the tow 'Add...' buttons:
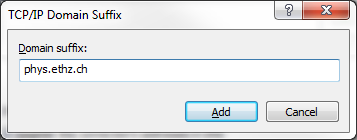
- Now enter the string phys.ethz.ch in the small text box window and click the add botton.
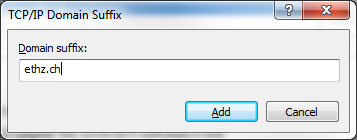
- Secondly click the same Add... button, enter ethz.ch and confirm with the add botton.
- Finally the list should look as follows. Confirm every open dialog box with OK. Done.
Configure DNS search list by importing the registry settings
You can download the following .zip file to your computer unzip the file and double-click the uncovered reg-file afterward to import the DNS settings directly to your registry (You have to be logged in with a user with administrative privileges to complete this action).